How to Start a Backyard Compost Bin: A Complete Beginner's Guide

What Is Backyard Composting and Why Does It Matter?
Backyard composting transforms kitchen scraps and yard waste into nutrient-rich soil amendment through natural decomposition. The process reduces household waste sent to landfills—where organic matter generates methane, a potent greenhouse gas—while producing black gold that feeds garden beds, containers, and lawns without synthetic fertilizers. For the home gardener, a compost bin closes the loop: what grows in the yard returns to nourish future growth. The EPA estimates that food scraps and yard waste comprise over 30% of municipal solid waste, making composting one of the most impactful sustainability practices available to homeowners.
What Do You Need to Start Composting?
The basics include a bin or designated pile, brown materials (carbon sources), green materials (nitrogen sources), water, and air. Most beginners overthink the setup—compost happens naturally whether you intervene or not. Your role is simply to create conditions that speed decomposition and minimize pests or odors.
Choosing Your Composting System
Several proven options suit different spaces, budgets, and commitment levels. Here's how the most popular systems compare:
| System | Best For | Cost | Maintenance | Speed to Finished Compost |
|---|---|---|---|---|
| Open Pile | Large yards, rural settings | Free | Low (turn monthly) | 6–12 months |
| Enclosed Bin (e.g., FCMP Outdoor IM4000 Tumbling Composter) | Suburban yards, neighborhoods | $80–$200 | Medium (turn weekly) | 2–3 months |
| Tumbler System (e.g., Miracle-Gro Dual Chamber Tumbling Composter) | Small yards, busy households | $100–$300 | Low (crank handle) | 4–8 weeks |
| Worm Bin (Vermicomposting) | Apartments, balconies | $50–$150 | High (feed weekly) | 3–6 months |
The tumbling composters from FCMP and Miracle-Gro dominate suburban yards for good reason. They contain odors, deter rodents, and produce usable compost in weeks rather than seasons. The IM4000, in particular, earns consistent praise for its large 37-gallon capacity and sturdy construction through Detroit's freeze-thaw cycles.
Location, Location, Location
Site selection matters more than bin choice. Partial shade prevents the pile from drying out in summer heat. Level ground keeps moisture evenly distributed. Proximity to the kitchen (within reasonable walking distance) determines whether you'll actually carry those coffee grounds outside every morning. That said, keep the bin at least two feet from fences and structures—wood in contact with decomposing matter rots faster than you'd think.
Drainage counts too. A soggy pile turns anaerobic fast, producing that telltale rotten-egg smell that gives composting a bad reputation. If your yard holds water after rain, build on a slight mound or add coarse wood chips as a base layer.
What Can You Compost—and What Should Stay Out?
Nearly any organic material decomposes eventually, but home systems have limitations. Stick to the rules below and you'll avoid the common beginner mistakes that lead to odor, pests, or disappointing results.
The Green Light List
Greens (nitrogen-rich): Fruit and vegetable scraps, coffee grounds and filters, tea bags (remove staples), fresh grass clippings, plant trimmings, annual weeds before they seed. These materials are moist and break down quickly, providing the nitrogen that fuels microbial activity.
Browns (carbon-rich): Dried leaves, straw, shredded newspaper and cardboard (non-glossy), sawdust from untreated wood, dryer lint (natural fibers only), pine needles in moderation. Browns absorb excess moisture and create air pockets within the pile.
The Red Light List
Never add meat, fish, dairy products, or oils—these attract rodents and create odors that persist for weeks. Pet waste from carnivores (dogs and cats) harbors pathogens that home composting doesn't reliably kill. Diseased plants may spread problems next season. Weeds gone to seed often survive the process, returning to haunt your garden beds.
Worth noting: glossy paper, colored cardboard with heavy inks, and pressure-treated lumber all introduce chemicals you're trying to avoid. When in doubt, leave it out.
How Do You Maintain a Healthy Compost Pile?
Balance and attention prevent problems before they start. A thriving compost pile smells earthy—like fresh soil after rain. If it stinks, something's off.
The Carbon-to-Nitrogen Ratio
Aim for roughly three parts brown to one part green by volume. This isn't chemistry-lab precise—eyeballing works fine. Too many greens? The pile turns slimy and sour. Too many browns? Decomposition slows to a crawl. The fix for either problem is simple: add more of what's missing and turn the pile to mix everything together.
Here's the thing: autumn leaves stockpile easily in a corner of the yard. Grab a handful whenever kitchen scraps go in. That habit alone prevents most ratio problems.
Moisture and Aeration
Squeeze a handful of composting material. It should feel like a wrung-out sponge—moist but not dripping. Dry piles stall; wet piles putrefy. In summer, sprinkle the pile during dry spells. During heavy rains, cover it with a tarp or add dry browns to absorb excess.
Turning introduces oxygen that aerobic bacteria need to work efficiently. Weekly turning produces finished compost fastest. Monthly turning works fine for less urgent timelines. Even unturned piles decompose—just slowly, from the bottom up. The catch? Anaerobic pockets may develop, creating localized odors.
Troubleshooting Common Issues
Foul ammonia smell: Too many greens. Add browns and turn.
Rotten-egg odor: Too wet and/or compacted. Turn vigorously to aerate; add dry materials.
Ants or flies: Food exposed on pile surface. Bury scraps under several inches of browns.
Rodents visiting: Stop adding food scraps temporarily; switch to a fully enclosed bin; avoid meat, dairy, or oils entirely.
Pile not heating up: Too small (needs minimum 3x3x3 feet), too dry, or lacking nitrogen. Moisten, add greens, and give it time.
When Is Compost Ready to Use?
Finished compost looks like dark, crumbly soil with an earthy smell. Original materials should be unrecognizable—no chunks of vegetable matter, no visible leaves. This typically takes two months in a hot, actively managed tumbler; six months to a year in a casual open pile.
Don't stress about perfection. Even partially finished compost improves soil structure and feeds plants. Screen out large pieces and return them to the active pile. Use the finished product as:
- Top dressing for lawns and garden beds (1–2 inches)
- Mix-in for container potting soil (up to 30% by volume)
- Side dressing for vegetables and flowers during the growing season
- Mulch around trees and shrubs
The EPA's composting guide offers additional application rates and seasonal timing recommendations.
What About Cold-Weather Composting?
Composting doesn't stop in winter—it slows dramatically. Microbial activity continues until internal temperatures drop below freezing. In Detroit and similar climates, the pile may freeze solid during January cold snaps. That's normal.
Continue adding scraps through winter; they'll freeze in place and resume decomposing come spring. Insulated tumblers (like the Joraform JK 270) maintain activity longer, but aren't necessary for success. The real challenge isn't cold—it's excess moisture from snowmelt that can saturate the pile in early spring. Have dry browns ready.
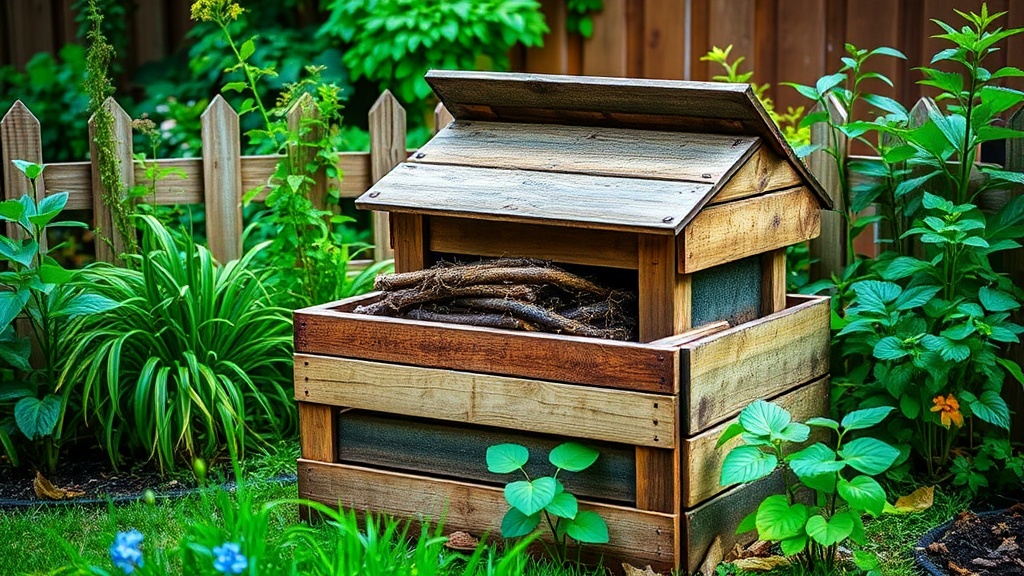
Do You Need to Buy Anything Special?
Honestly? No. A simple wire mesh cylinder or wooden pallet bin costs little or nothing and produces excellent compost. Purchased systems offer convenience and neatness, particularly in visible yard spaces. The Purdue Extension composting guide includes DIY construction plans using common materials.
A compost thermometer helps enthusiasts track thermal phases. A pitchfork or aerating tool makes turning easier. But neither is required. Nature does the heavy lifting—you're just the facilitator.
Start small. Add materials as they're available. Turn when you remember. Within months, you'll have black gold that cost nothing and kept waste from the landfill. The garden—and the planet—benefit from every scoop.
For more detailed technical guidance, the USDA Natural Resources Conservation Service publishes extensive resources on home-scale composting science and best practices.
Steps
- 1
Choose and Set Up Your Compost Bin Location
- 2
Layer Green and Brown Materials Properly
- 3
Maintain Moisture and Turn Regularly