The One Composting Habit That Will Transform Your Garden Soil in 30 Days

Quick Tip
Always layer compost as brown–green–brown to maintain balance and speed up decomposition without effort.
Here’s the blunt truth: most people overcomplicate composting and then give up when it smells, attracts pests, or just sits there doing nothing. The fix isn’t buying a better bin or memorizing carbon-to-nitrogen ratios. It’s building one consistent habit that quietly does all the heavy lifting.
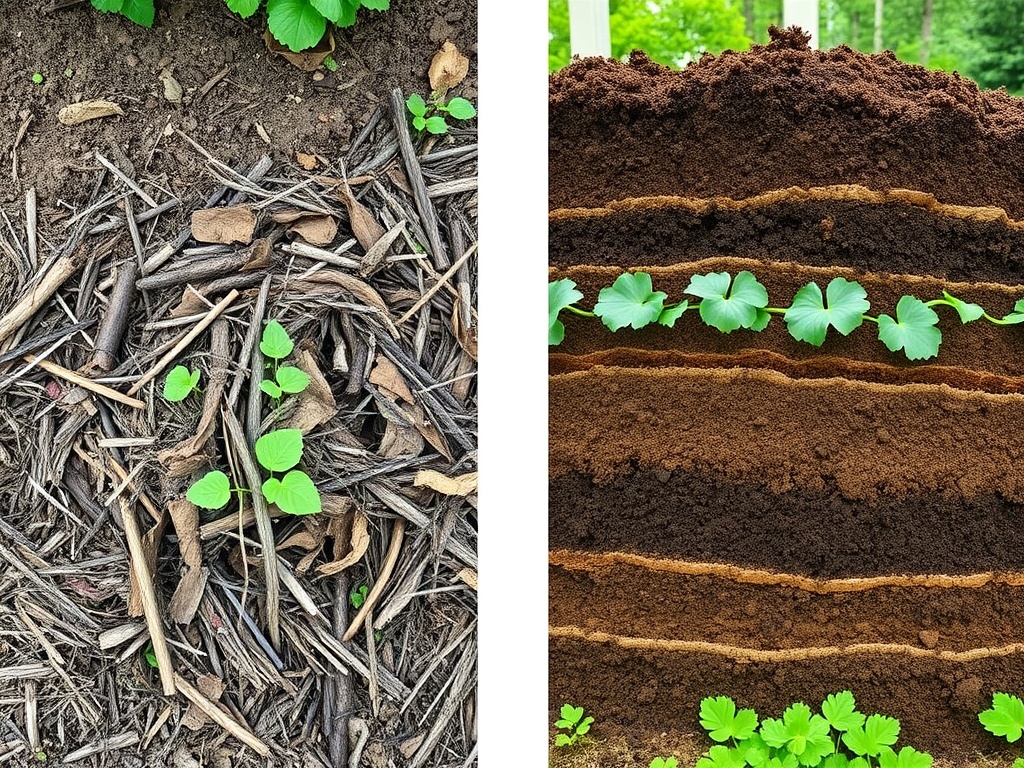
The tip: layer your compost like a lasagna every single time you add to it—no exceptions.
Why This One Habit Changes Everything
Most compost problems come from imbalance. Too many kitchen scraps and you get slime and odor. Too many dry leaves and nothing breaks down. When you layer consistently, you automatically regulate moisture, airflow, and microbial activity without thinking about it.
Think of compost like a slow ecosystem you’re feeding. Each layer becomes a micro-environment. When those environments stack correctly, decomposition speeds up, temperatures stabilize, and you avoid the dreaded “rotting pile” scenario.
And yes—done right, you can noticeably improve your soil in about a month, especially if you’re already adding compost to beds or containers regularly.
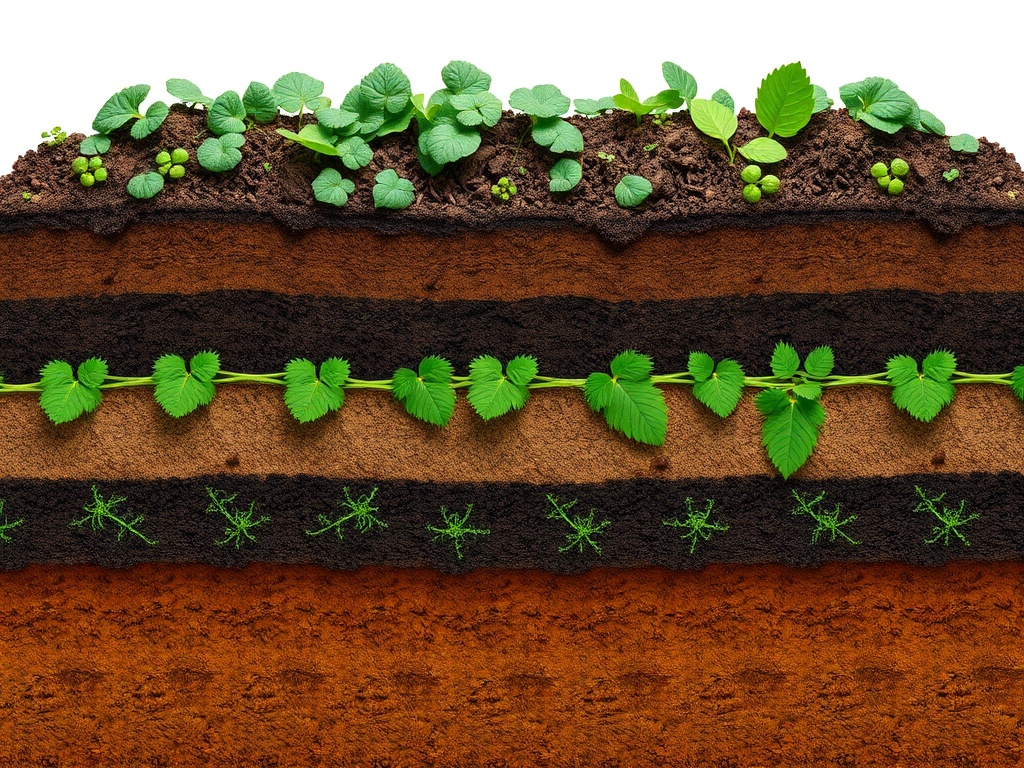
What “Layering” Actually Means (No Guesswork)
Forget complicated charts. Here’s the simple version you can remember without Googling:
- Start with browns (dry leaves, shredded cardboard, paper)
- Add greens (food scraps, coffee grounds, grass clippings)
- Cover with browns again
That’s it. Every time. You’re sandwiching nitrogen-rich materials between carbon-rich ones. This traps odors, balances moisture, and feeds microbes in a way that keeps the system active.
If you only remember one rule: never leave fresh food scraps exposed.

The Ratio You Don’t Need to Measure
You’ll see advice about 2:1 or 3:1 carbon-to-nitrogen ratios. That’s technically correct—and practically useless for daily life.
Layering solves this automatically. Each “brown–green–brown” cycle gets you close enough that microbes do the rest. Your job isn’t precision—it’s consistency.
If your pile looks wet and heavy, add more browns. If it looks dry and lifeless, add greens. That’s the entire adjustment system.
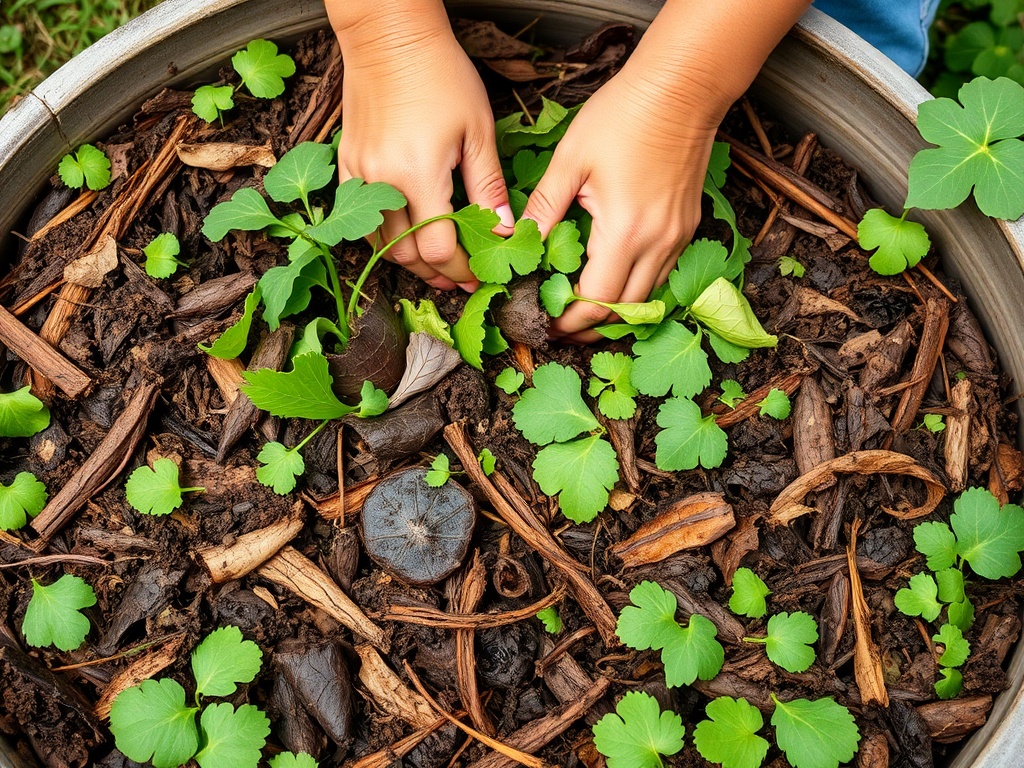
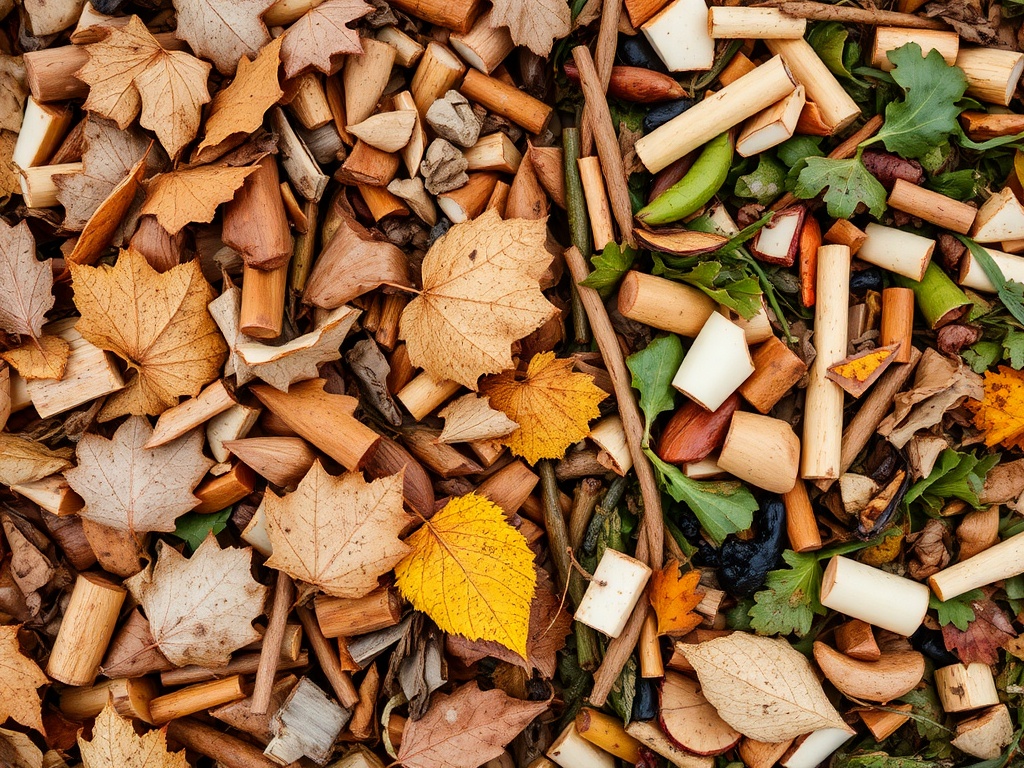
What Counts as Greens vs Browns (Quick Reality Check)
Greens (nitrogen-rich):
- Fruit and vegetable scraps
- Coffee grounds and filters
- Fresh grass clippings
- Tea bags (no plastic)
Browns (carbon-rich):
- Dry leaves
- Cardboard (shredded)
- Paper (non-glossy)
- Wood chips or sawdust (untreated)
The mistake people make is treating browns as optional. They’re not. They’re the structure of your compost.
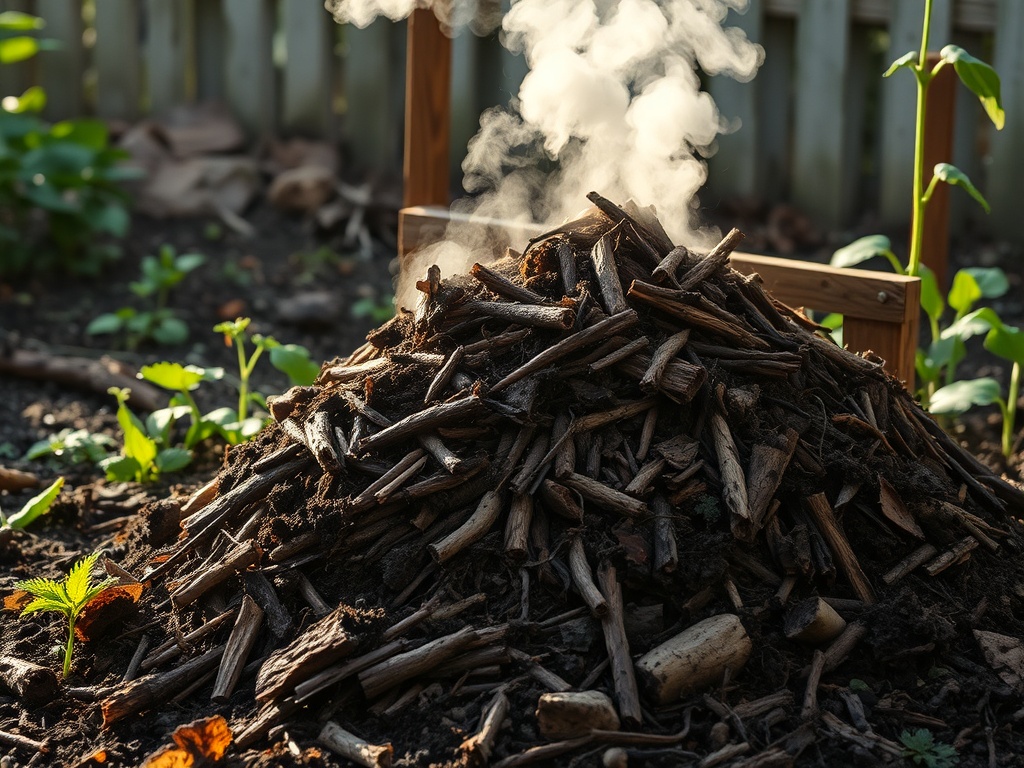
The 30-Day Transformation (What Actually Happens)
If you stick to layering every time, here’s what changes fast:
- Week 1: Less odor, fewer pests, better moisture balance
- Week 2: Noticeable breakdown of food scraps
- Week 3: Heat builds inside the pile (a good sign)
- Week 4: Darker, crumbly material forming at the bottom
You’re not getting finished compost in 30 days—but you are creating usable, active organic matter that improves soil structure immediately.
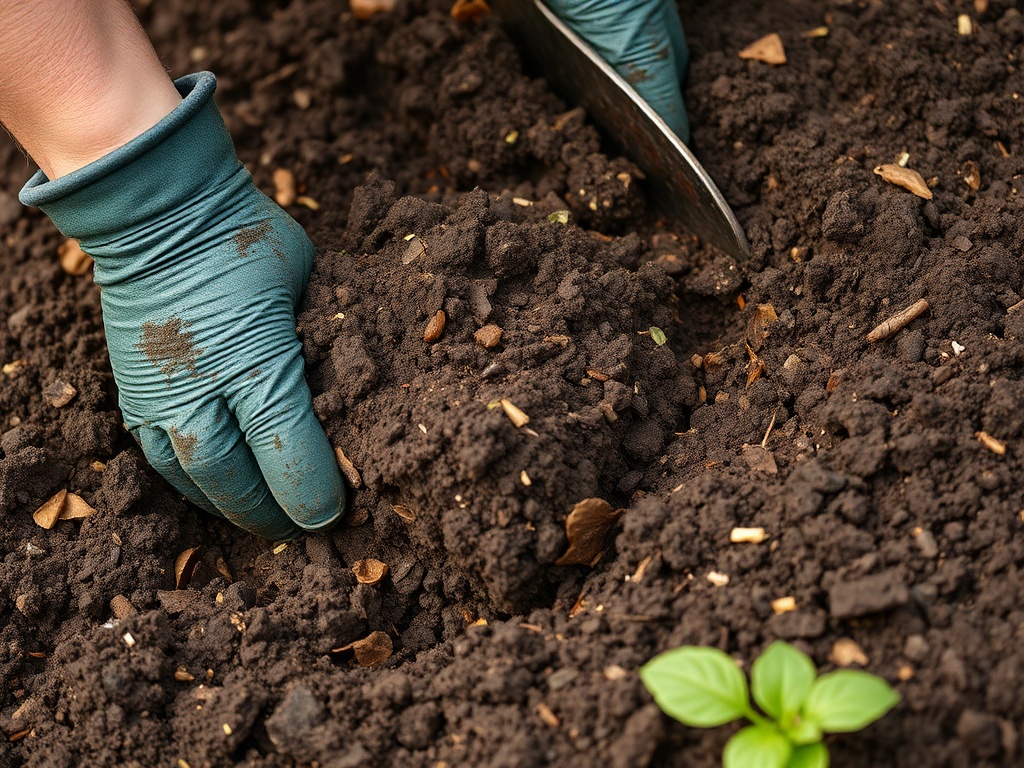
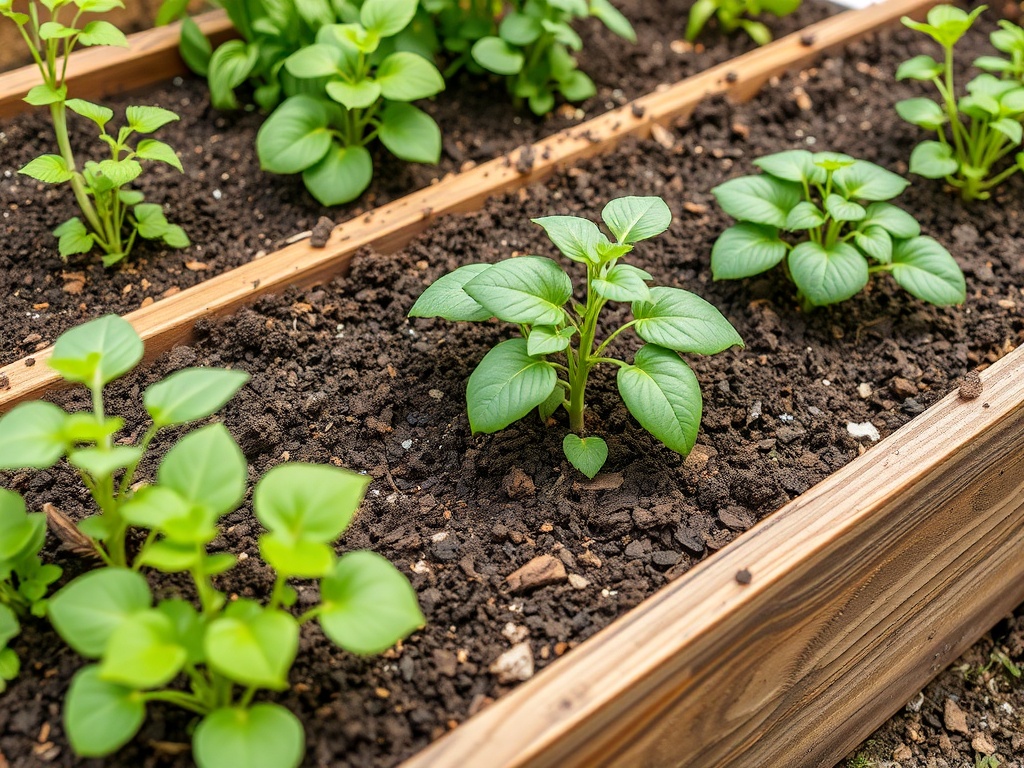
Where to Use It Right Away
You don’t need to wait for perfect compost. Early-stage compost (as long as it’s not smelly or slimy) can be:
- Mixed into garden beds
- Used as mulch around plants
- Added to container soil in small amounts
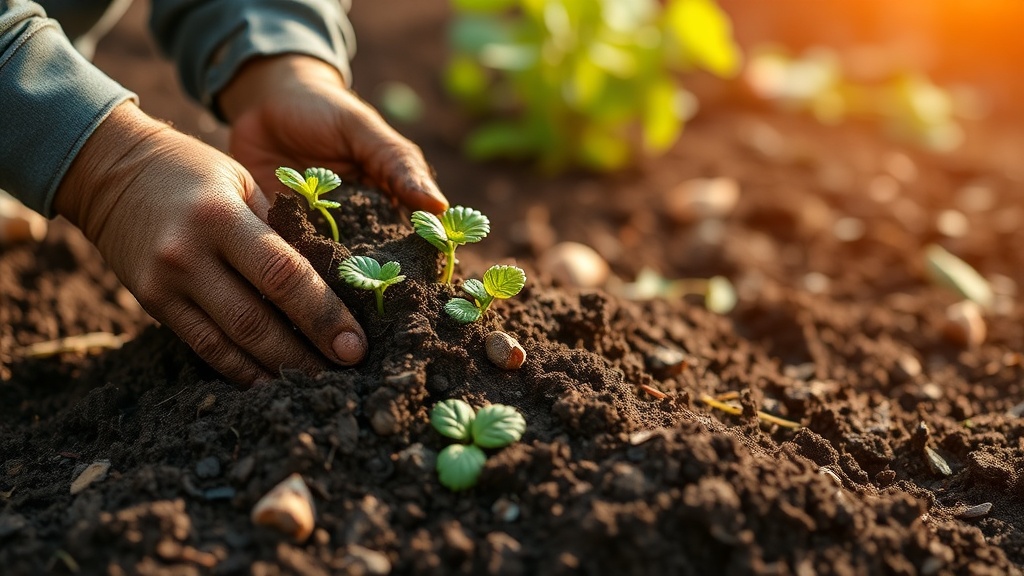
This jumpstarts soil biology, which is the real goal—not just “finished compost.”
Common Mistakes That Kill This Habit
1. Dumping scraps and walking away
That’s how you get smell and pests. Always cover.
2. Ignoring browns
If you don’t have dry material ready, your system collapses fast.
3. Overthinking it
You don’t need thermometers or fancy bins. You need repetition.
4. Letting it dry out completely
Compost should feel like a wrung-out sponge—not dust.
Make It Automatic (So You Actually Stick With It)
The difference between people who compost for years and people who quit in two weeks is friction.
Reduce it:
- Keep a small kitchen container for scraps
- Store a bag of dry leaves or shredded cardboard nearby
- Commit to layering every single time—no shortcuts
Once this becomes muscle memory, composting stops being a “task” and turns into a background system that feeds your garden continuously.
That’s the shift: from occasional effort to automatic habit.